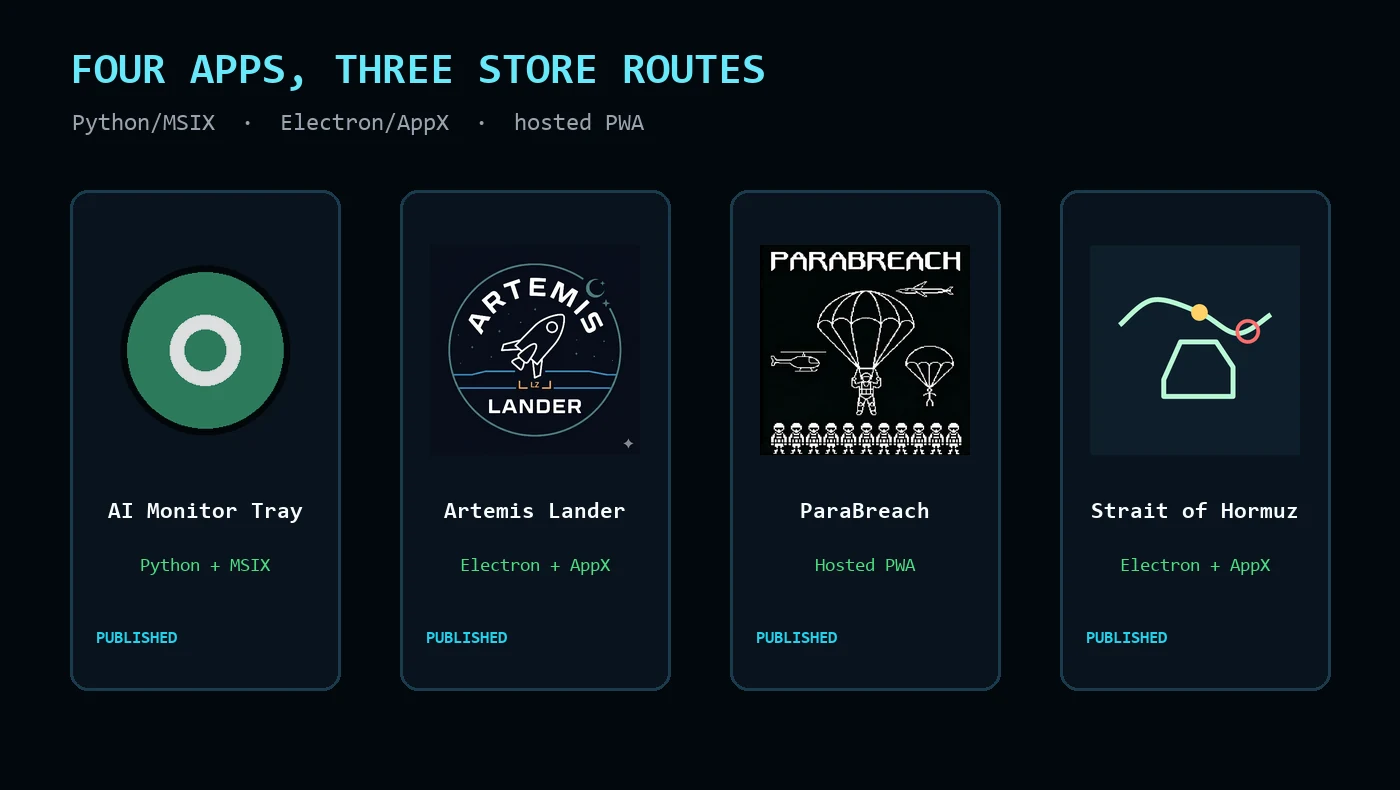
I have published four applications through the Microsoft Store: AI Monitor Tray, Artemis Lander, ParaBreach and Strait of Hormuz. They did not all use the same packaging method, and the process was not simply “upload an EXE and fill in a form.” This is what Partner Center did not make obvious when I began.
Across those releases I used three different routes:
- Electron desktop applications packaged by my toolchain as AppX/AppXBundle artifacts for an MSIX Store submission;
- a Python Win32 application wrapped as MSIX/Desktop Bridge;
- a hosted Progressive Web App packaged through PWABuilder.
The biggest lesson is that “publishing to the Microsoft Store” is not one workflow. Your first decision is what kind of application you are actually shipping.
Store requirements and Partner Center screens change. Treat this as an experience-based guide and verify current requirements in Microsoft’s official documentation before submitting.
Step 1: Choose the right packaging route
Hosted Progressive Web App
ParaBreach is hosted online as an installable PWA. PWABuilder can generate a Windows Store package from the live site.
This route works well when:
- the application already runs reliably as a web app;
- it has a valid web manifest and service worker;
- ordinary updates can be delivered from the hosted site;
- it does not require unrestricted desktop capabilities.
A useful distinction is that normal hosted content changes can appear without rebuilding the Store package, but changes to package-relevant manifest details require a new package and Store submission.
Electron desktop application packaged for MSIX submission
Artemis Lander and Strait of Hormuz use Electron packaging with an AppX target. That is the artifact name used by this particular toolchain; Microsoft's current Store documentation describes the submission route as MSIX.
This route suits applications that need:
- a bundled desktop runtime;
- offline local files;
- desktop window behavior;
- capabilities that do not fit a hosted PWA.
Artemis Lander originally had documentation for a hosted-PWA path, but the eventual release process deliberately moved to a packaged Electron desktop application. That change removed ambiguity: the Store artifact represented the actual desktop app rather than a wrapper around a website.
Python or Win32 application through MSIX/Desktop Bridge
AI Monitor Tray is a Python tray utility distributed as a full-trust desktop application. The executable is built first, then wrapped in an MSIX package with the correct manifest and capabilities.
This route requires more explanation for certification because the Store reviewer needs to understand why the application requests full-trust desktop access and how to test it.
Step 2: Confirm the developer account before packaging
Microsoft's current onboarding starts at storedeveloper.microsoft.com. The documentation says there is no registration fee, although the Apps and games submission workspace can take up to 30 minutes to appear after account creation. Confirm that you can create an app before investing time in the final package.
Before building packages:
- create or verify the Microsoft Store developer account;
- sign in to Partner Center and confirm the Apps and games workspace is available;
- complete any required identity and account verification;
- reserve the product name;
- create the product and first submission;
- copy the Store identity values into a private local release configuration.
Do not spend hours creating final packages before confirming that the account and product reservation are ready.
Step 3: Treat package identity as exact data
The identity values in the package must match Partner Center exactly. For the current PWA workflow, Microsoft specifically tells publishers to copy these Product Identity values:
- Package ID;
- Publisher ID;
- publisher display name;
For MSIX packages, identity is built around the publisher, name and version. A particular build tool may expose additional application or package-family fields, but those values still need to derive from the reserved Store product rather than being invented.
Do not invent values that look right. Copy them from the product identity page and keep environment-specific identity data separate from reusable source templates.
In my projects:
- Artemis Lander uses a local Store identity JSON file;
- AI Monitor Tray uses a package manifest template with explicit Partner Center placeholders;
- Strait of Hormuz requires placeholder publisher values in its Electron package configuration to be replaced before Store upload.
Identity mismatch is one of the least interesting and most effective ways to have a package rejected.
Step 4: Build the package in the correct Windows environment
Electron example
My Electron projects define both a conventional Windows installer target and an AppX target. In that toolchain, the Store submission artifact was the AppX/AppXBundle rather than the ordinary NSIS installer. Current Microsoft documentation groups this under the MSIX submission route.
On Windows, AppX packaging may need Developer Mode or an elevated terminal. I encountered a build failure reporting that a symbolic link could not be created. The application code was fine; Windows had blocked a packaging operation.
Before debugging the app itself:
- enable the required Windows developer features;
- confirm the packaging toolchain is installed;
- build from a clean release state;
- note the exact output artifact;
- install and test the package locally where supported.
Python/Win32 example
For a Python desktop utility:
- build and test the ordinary application executable;
- stage the files in a clean package directory;
- generate the MSIX manifest from a template;
- add required icons and visual assets;
- declare only the required capabilities;
- package and sign as required for local testing;
- upload the Store package associated with the reserved identity.
The Store package does not fix a fragile desktop build. Test the unpackaged application first.
PWA example
For a hosted PWA:
- validate the live HTTPS application;
- check the web manifest, icons, start URL and display mode;
- verify the service worker and offline behavior;
- use PWABuilder to inspect and package the live URL;
- replace or confirm Store identity details;
- test the generated Windows package;
- upload it to the existing Partner Center product.
The live site becomes part of the Store product. Treat uptime, redirects and manifest stability as release requirements.
Step 5: Keep version numbers aligned
Version drift is easy because several places describe the release:
- application source version;
- package manifest version;
- generated artifact filename;
- Store submission notes;
- “What’s new” listing copy.
Before upload, compare all five.
One of my projects had source code at version 1.1.0 while an older listing document still named a 1.0.0 package. Even if the Store accepts the correct binary, stale release documentation makes it much easier to upload the wrong file.
Never reuse a package version already accepted by a store. Increase versions deliberately and keep a release checklist in the repository.
Step 6: Determine whether the app requires a privacy policy
A public privacy-policy URL has been a recurring requirement across my Store projects. Officially, Microsoft Store Policy 10.5.1 makes it mandatory when a product accesses, collects or transmits personal information, or when the law otherwise requires one. It is not a blanket requirement for every possible app.
The policy should accurately explain:
- what data the application collects;
- whether data leaves the device;
- network services the app contacts;
- logs or settings stored locally;
- contact and policy-update information appropriate for the product.
Do not claim “no data collection” without checking analytics, crash reporting, remote APIs and third-party services.
The URL needs to be publicly accessible to reviewers. A Markdown file hidden inside a repository is not necessarily a public policy page.
Step 7: Declare and explain capabilities
Desktop applications often require capabilities that web apps do not.
AI Monitor Tray needed internet access to poll AI endpoints and runFullTrust for its desktop tray behavior. Adding the capability was only part of the job. The certification notes also needed to explain:
- why full trust was required;
- what the application does when launched;
- how the reviewer can test it;
- what happens if no local AI service is installed;
- how to exit the tray application.
Ask for the narrowest capabilities that make the application work. Unexplained permissions invite questions.
Step 8: Make the application testable by a reviewer
The reviewer does not know your development environment.
A tray application that appears to do nothing, a game whose controls are undocumented, or a monitor that expects a private server will be difficult to certify.
Provide concise certification notes covering:
- how to start the app;
- where its interface appears;
- basic controls;
- any first-run delay;
- a no-account or no-hardware test path;
- expected behavior when an optional service is unavailable;
- how to close background or tray processes.
For AI Monitor Tray, testability without a full Ollama environment was a specific release concern. The reviewer needed a useful path even when the monitored service was absent.
Step 9: Treat naming and branding as policy issues
A descriptive development name can imply affiliation with a third-party product or company.
One of my Store-readiness reviews flagged “Ollama Monitor Tray” as potentially implying an official relationship. The safer approach was neutral product branding with an accurate description of compatible services.
Before submission:
- search the Store for similar names;
- avoid implying endorsement or official status;
- use third-party names descriptively and accurately;
- make your publisher identity clear;
- ensure icons and screenshots are your own or properly licensed.
Step 10: Build the listing as part of the product
Do not leave the Store listing until the package is finished.
Prepare:
- short and full descriptions;
- feature list;
- keywords;
- category;
- age-rating answers;
- support and privacy URLs;
- screenshots showing meaningful states;
- Store icons and promotional artwork;
- “What’s new” notes;
- certification instructions.
Artemis Lander and ParaBreach both benefited from screenshot plans rather than random captures. For a game, show gameplay variety, controls and a recognisable visual identity. For a utility, show the interface, status states and practical purpose.
Step 11: Run certification checks before uploading
For an MSIX submission, Microsoft's current certification guidance says to run the Windows App Certification Kit before submitting and address its findings.
Also test:
- installation on a clean Windows account or machine;
- first launch;
- uninstall;
- upgrades from the previous Store version;
- offline and unavailable-service behavior;
- display scaling;
- restricted file paths;
- tray startup and exit behavior;
- all links shown in the Store listing.
A successful local build proves only that the build completed. It does not prove that the application is Store-ready.
Step 12: Submit, respond and document
After upload:
- check Partner Center package validation;
- complete every required property and rating section;
- add reviewer notes;
- submit for certification;
- record the submitted version and date;
- keep the exact artifact associated with that submission;
- respond to failures by fixing the stated root cause rather than rebuilding blindly;
- after release, verify the public Store listing and install it from the Store.
Keep the release checklist, listing copy and certification notes in the project repository. The next update should begin from evidence, not memory.
My condensed checklist
- [ ] Choose a hosted PWA or MSIX submission route; record the exact artifact emitted by the toolchain.
- [ ] Confirm the Microsoft Store developer account and Partner Center Apps and games workspace.
- [ ] Reserve the final Store name.
- [ ] Copy exact product identity values.
- [ ] Align source, manifest, artifact and listing versions.
- [ ] Build and test the package locally.
- [ ] Publish an accurate public privacy policy when the app or applicable law requires one.
- [ ] Declare only required capabilities.
- [ ] Write reviewer instructions and a dependency-free test path.
- [ ] Prepare screenshots, icons, descriptions and age rating.
- [ ] Run certification checks.
- [ ] Upload the exact recorded artifact.
- [ ] Record the submission and verify the live Store release.
Current Microsoft references
Microsoft changes Partner Center and the submission screens over time. I check the current documentation before preparing each release:
- Publish apps and games to Microsoft Store on Windows
- Open a Microsoft Store developer account
- Reserve an MSIX app name
- Publish a PWA to the Microsoft Store
- Microsoft Store policies
- MSIX app certification process
- App capability declarations
- MSIX overview
- Microsoft's PWABuilder publishing course
What I learned
The Microsoft Store process became manageable once I stopped treating packaging, policy, testing and listing copy as separate chores. They are all parts of one release.
Choose the correct route first, copy the Store identity exactly, make the reviewer’s job easy and keep a disciplined release record. The problems I encountered were not mysterious: mismatched identity, stale versions, missing policies, unexplained capabilities or an application that only worked on the developer’s machine.